6 min read
Basketball Shooting Form That Actually Matters for a Young Player
A plain-language guide to youth basketball shooting form for parents: what balance, hand placement, elbow position and follow-through actually do, and how to spot the common faults from the sideline.
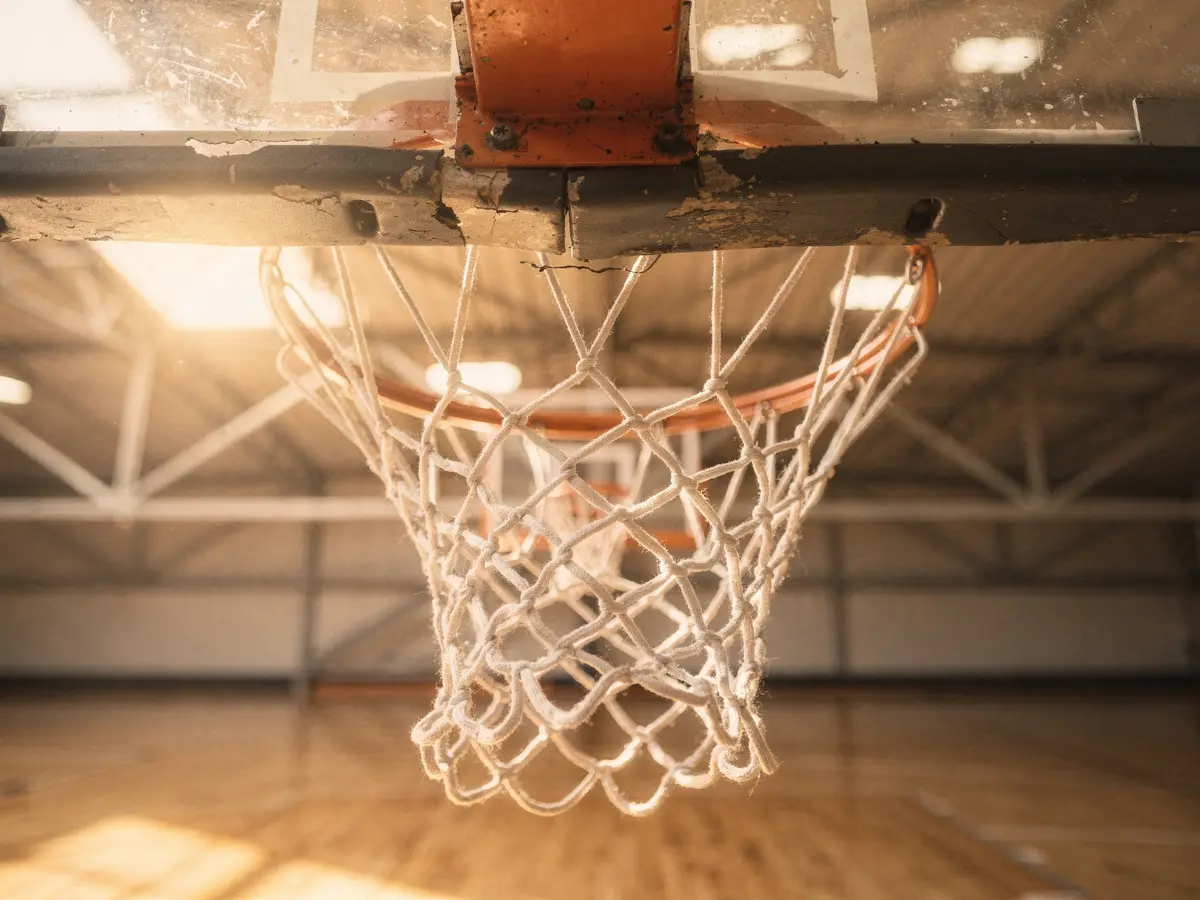
Most young players are never really taught to shoot. They are told to shoot, corrected when they miss, and left to work the rest out on their own. Whatever a kid repeats for years becomes their shot, good or bad.
Shooting form is one of the few parts of basketball a parent can genuinely help with, even if you have never played. You do not need to understand defensive rotations to see that your child's ball is spinning sideways. You just need to know what to look at.
Start at the feet, not the hands
In our experience, a shooting problem that looks like a hand problem is usually a balance problem. If the base is wrong, the arms compensate, and no amount of fiddling with finger position will fix it.
Balance looks like this: feet roughly shoulder-width apart, shooting-side foot slightly ahead of the other, toes pointing more or less at the rim, knees bent, weight on the balls of the feet. The player goes straight up and lands close to where they took off.
To spot the fault, watch where they land, not where the ball goes. If your child drifts forward, fades backwards, or kicks a leg out to the side, they are shooting off balance. Usually the shot is too far for their strength and the body is borrowing momentum to get the ball there. The fix is rarely a lecture. Move them closer to the hoop until they can shoot without drifting, then let them earn the distance back over weeks.
Hand placement: fingers, not palm
The ball should sit on the pads of the fingers with a small gap between the ball and the palm, enough to slide a finger into. Fingers spread comfortably wide, not strained.
Palm shooters lose their touch. The ball comes off dead, with little spin, and the shot has to be pushed rather than released. It is easy to check: have your child hold the ball in shooting position and look at the gap. No gap, no touch. Using the same reference point every time, the air valve or a seam, makes the grip repeatable rather than re-invented on each attempt.
The guide hand does nothing, and that is the point
This is one of the most common faults we see. The off hand sits on the side of the ball. Its only job is to hold the ball steady until the shooting hand takes over. It should not push, and the thumb should not flick.
To spot it, watch the flight of the ball rather than the rim. A clean shot has straight backspin, rotating back towards the shooter. A thumb-flicked shot has sideways spin and wobbles, and the misses look random, left one time and right the next, which is the tell-tale sign of two hands fighting over one ball. The other giveaway is the finish: if the guide hand ends up splayed out or pointing at the rim, it was working when it should have stayed where it started.
The elbow: under the ball, not glued to the ribs
Coaches yelling "elbow in" mean that the shooting elbow should sit under the ball, roughly stacked over the knee and the foot, rather than flared out like a chicken wing.
Some flare is normal and harmless. Perfect alignment is not the goal, and forcing a young player into an uncomfortable position often creates a worse problem than the one you were solving. Watch for the extreme version: an elbow swinging out wide, which turns the shot into a sideways push and sends the ball on a curve. The wrist should be cocked back far enough that there is a wrinkle in the skin, because that loaded wrist is where soft touch comes from.
Follow-through: hold it until the ball lands
The release finishes with the wrist snapping down and the fingers pointing at the rim, held still until the ball hits something. It has an outsized effect, because a player who holds the finish cannot rush the shot, and rushing is one of the quickest ways to break a young shot.
Arc matters more than most parents expect. A flat shot has a smaller opening to fall through and tends to hit the front rim hard and bounce long. If the misses are short and hard rather than short and soft, the arc is the problem, not the aim. Stand at the baseline, watch the shot in profile, and you will see it.
Faults you can spot without knowing basketball
- Sideways spin, which usually means the guide-hand thumb is pushing.
- Landing well away from where they jumped, which means the shot is too far for their strength.
- No gap between palm and ball, which kills touch and forces a push.
- A flat, hard shot that rattles off the front rim and bounces long.
- The ball starting behind or above the head, which is a heave rather than a shot.
- Eyes leaving the rim mid-shot, usually because the player is watching their own hands.
Strength is the hidden variable
A lot of what looks like bad form in a younger child is a kid trying to move a ball that is too heavy from a distance that is too far. Correcting the elbow while they are shot-putting from the chest is wasted effort, and it makes them self-conscious about something that sorts itself out as they grow.
Use a ball they can control, the smaller sizes for younger players, moving up as they grow. Shoot from close range, and if a driveway hoop can be lowered, lower it. The ten-foot rim and the long shots can wait; the movement pattern cannot.
How to practise it at home
Short and frequent beats long and occasional. A focused session on most days will do more than one long session on the weekend.
Start with one-handed form shooting close to the rim, guide hand behind the back, until they string together a run of makes with clean backspin. Then add the guide hand, still close. Then move around the paint and make a few from each spot. Finish with catch-and-shoot reps, a parent passing while the player sets their feet before the ball arrives, because in a game the shot almost always follows a catch. One cue at a time, though: a kid can hold one thought during a shot, not four.
If you have ended up running practices for a school or community team, basketball coaching software can help. Six Seven Ball is one such tool, with practice planning, a play designer and a drill library. It has no connection to Chatham Kings; it is simply a reasonable place to look for drills when your time is limited.
When outside help is worth it
Form work is repetitive and unglamorous, and plenty of kids will not do it on their own. It also helps to have someone watching closely enough to catch a fault early, before it has been reinforced for a season.
At Chatham Kings, shooting mechanics are a regular part of our training sessions for ages 8 to 18. Private sessions are $99, a four-session package is $379, and small-group pods are $65, $55 or $50 per player per session for groups of two, three or four. A four-week pod program is $199. Shooting is also worked on in the coached block of our after-school program for ages 8 to 14, which runs 4:00 to 6:00 PM, Monday to Friday, after doors open at 3:00 PM for arrival and homework.
We are glad when kids play elsewhere too. The Chatham-Kent Wildcats and the school teams around Chatham, Wallaceburg, Blenheim, Tilbury, Ridgetown and Dresden give young players games, and games are where form gets tested. Anything we do adds to that rather than replacing it.
If you are unsure what your child needs, or whether they need anything beyond a hoop and time, our FAQ covers the questions parents ask most. A kid who shoots close-range repetitions with clean backspin most weeks will get more out of it than one who only turns up to paid sessions.